Organization, Baby Steps


Our kitchen cabinets are the original to the house, steel mid-Century GE space age things. We have a dream of having the painted at a car place, but not the funds, so they're rusty and imperfect and perfectly suited for the aesthetic of the rest of our home.


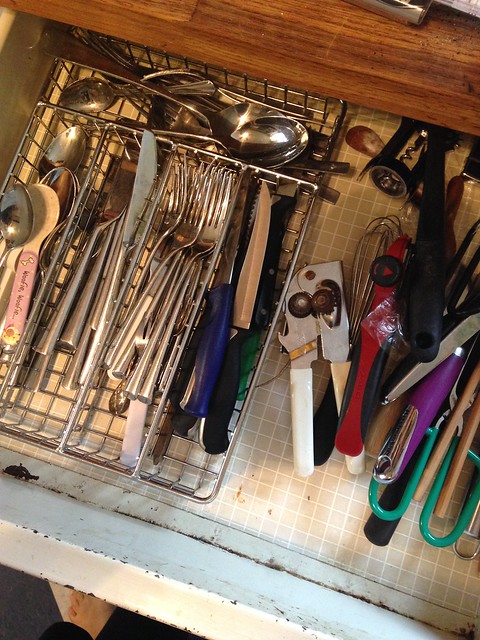
Anyway, a few days ago I was unloading the dishwasher for the bazillionth time (really probably the 3rd time that day...how?! why?!) and decided we needed a better system for the utensils.


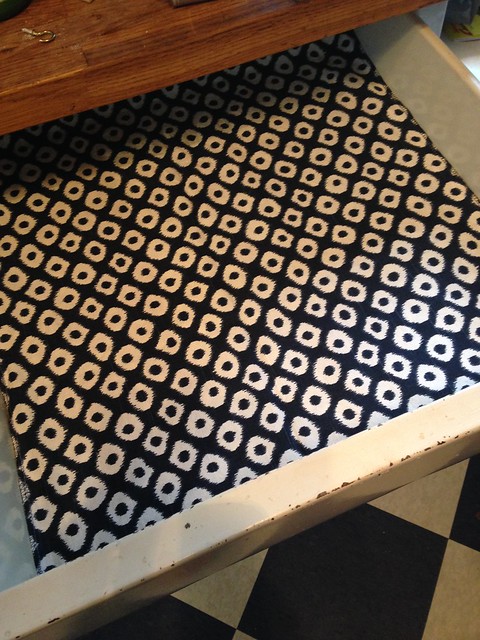
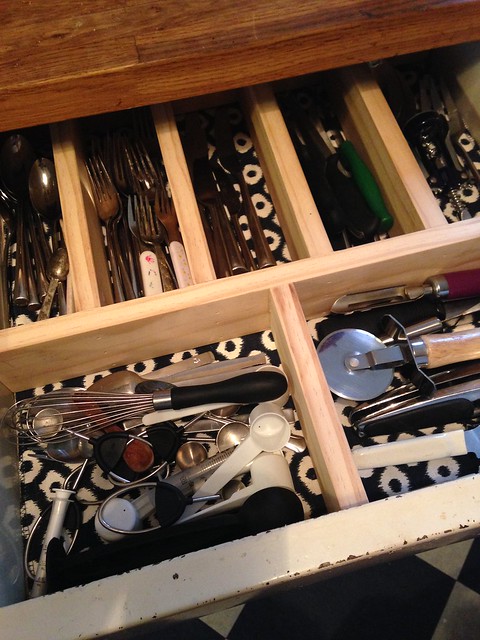
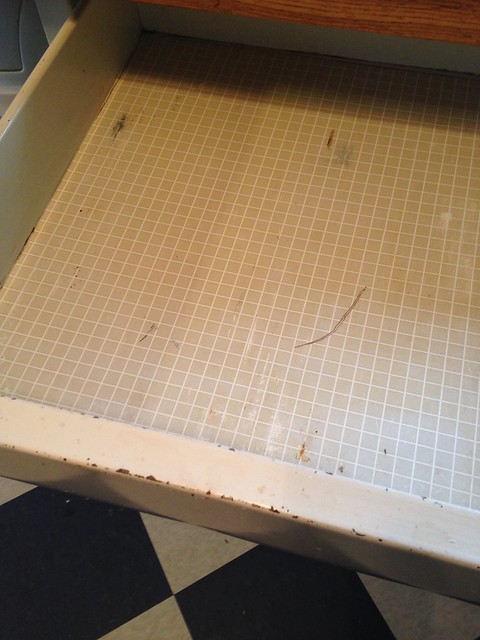
As with 90% of the population I vowed not to be more frugal this year, so naturally Charlie needed to make a a custom sorter for the drawer, right? The old and icky contact paper needed to go, too, so I thought a nice piece of fabric doubled over would be a better alternative (after all, it could be washed when the time comes). I measured the drawer, marked the size on the fabric and quickly serged the edges together to make it into a large mat.


Not too shabby for a quick project that didn't cost an extra dime to make, huh?

Green 'n clean carpet follow-up


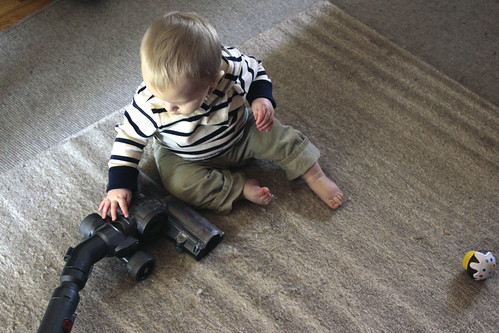
I meant to spend some time with a few rugs this past weekend, testing out the Earth Friendly Products Carpet Shampoo. Between Fox officially crawling (and trying to crawl up the stairs) and prepping for a 30 day detox I didn't get to all of the rugs, but I did try out the goods.


The EFP shampoo is more concentrated than the Bissell (uses 1.5 oz to Bissell's recommended 2.5 oz). It also uses essential oils for fragrance rather than artificial fragrance, which meant I didn't end up with a migraine post-use. In fact, the EFP fragrance was pretty much undetectable after the rug dried, the Bissell lingered for the next 24 hours or so.


Did it clean as well? Absolutely. I cleaned this small rug from C's and my bedroom, one that sees the most traffic in that room. Though it's relatively new, it needed some attention. For several weeks M had a nighttime cough that I approached with Hyland's Cough Syrup (disappointingly, I realized it has Sodium Benzoate, so out it goes) and raw, local honey. There were spots of gunk across the carpet thanks to the combination of those 2 sticky substances plus nighttime doses.

A quick steam and the dirty water that cycled back into the tank was a murky medium brown. I still had some clean water and shampoo in the tank, so I used it up on an area of the main rug in the den...that very same rug we'd cleaned 2 weeks ago. The 3'x5' area of that rug cycled black water back into the tank. Total yuck to the nth degree.

The visible results: The sticky mess from the bedroom rug is gone. A few of the stains on the larger carpet are significantly less visible than they were after the Bissell round. 


The short of it: I'm glad I researched and decided to try this particular carpet cleaner! While I'm pretty sure nothing can return our carpet to it's new glory, I can definitely breathe easier having little hands and feet playing on it all the time.

The 10 Minute Tiny Pond Project


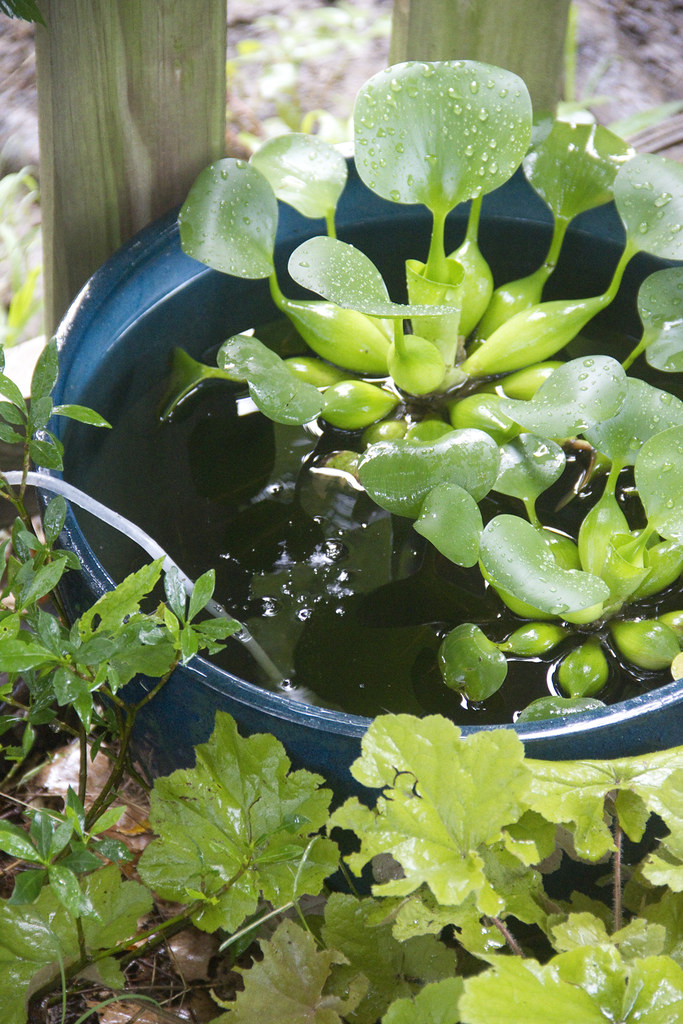
Having a water feature can bring lots of new creatures to a garden. This isn't really a pond, but a planter I found on end of season clearance at Target. I added a solar aerator, goldfish and plants from the backyard pond, and voila! A new point of interest in the yard for Mabel (the goldfish have a magnetic quality). I'm also hoping it will be a point of interest for nature's own mosquito control, dragonflies and damselflies.


The Play Room


After reading Simplicity Parenting (a few thoughts on it here) I went through M's play room (she calls it her downstairs living room) and purged about half her toys. It still looked cluttered, but I reorganized the layout and found a place for everything.  I've tried to teach her how to clean up her toys but those who know me know I have no business teaching anyone anything about cleaning.


Simply getting everything in its place took so long we both ended up frustrated and irritable. Throughout the process M would find a toy she hadn't played with in a while and understandably want to play with it. The first few times I gently asked her to get back on task, then I finally resorted to the ol' standby threat, "Mabel, if you can't take care of your toys we're going to give them to someone who can." I had a box in my hand to really drive the point home.

With that motivation she picked everything up, threw it all in the box threat and asked me who would get the toys and where we were going to take them. She didn't see it as a threat so much as an opportunity to share. Lesson learned.


Since then we've been tidying a little bit every day but the room generally looks like the toy monster vomited a rainbow of plastic all over the floor.

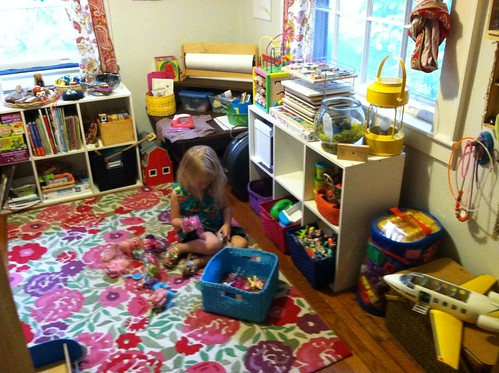
Yesterday I gave it a thorough once-over...it took a solid 8 hours.  Since it's clean, I took a few quick camera phone pics. I'm not one to miss the rare opportunity to brag about a clean room.

My system? I applied what I know about how Mabel plays:
  • she's more likely to play with her toys when she can see them; 
  • she won't dig through a giant toy box to get out one toy, she likes to peruse the buffet before deciding what looks fun;
  • she simply won't make a choice (i.e. she'll ask to watch TV) if given too many options;
  • she's much more imaginative if she has a place to park her rump and/or move around without obstacles; 
  • given a task she can do herself (e.g. hanging a jacket, putting away shoes) she rises to the challenge; it's a simple way to build her self-confidence and she loves knowing she can do something "by mine own self".

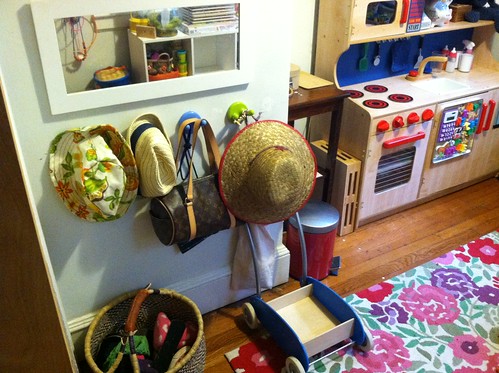
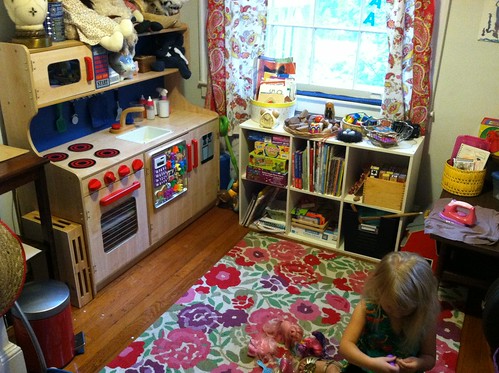
Going through the room, I made a small pile of toys to get rid of. Then I whittled the selection of books, puzzles, and art supplies to about half. Those went into a closet to use as back stock. I bought a few more baskets to organize the cubbies.  I like the clean look of those bins made fit these kinds of shelves and hide the clutter, but picked low-walled baskets so M can easily see what's inside. in loose themes like "things with wheels". At some point in the near future I'll add pictogram labels to each. I  moved a table in from another room, making a corner for crafting. Above the table are some cute little clips for an easily changeable display of her artwork. Just inside the doorway to the room are lots of hooks at her height for hats, necklaces and jackets. Below the hooks to the left is a sizable basket for shoes and slippers. Below the hooks to the right is a picnic basket sturdy enough she can stand on it and play with her nature shelf.


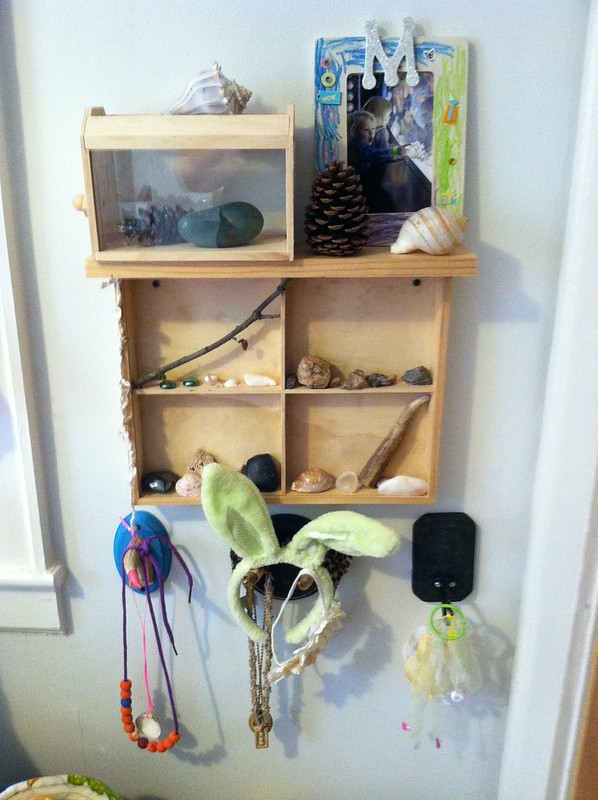
What's nature shelf? They're common to both Montessori and Waldorf philosophies. Generally it's an area dedicated to all the fascinating finds from the great outdoors. I took a wooden box some flash cards came in and made one (errr...asked Charlie to make one) for M. She loves collecting natural objects, examining them, and showing them off when other kids come over. This little area provides the perfect spot for that.


It's back to being a play room meant for play. At least for now.
The $3 (plus the odd scrap or two of building materials) trellis


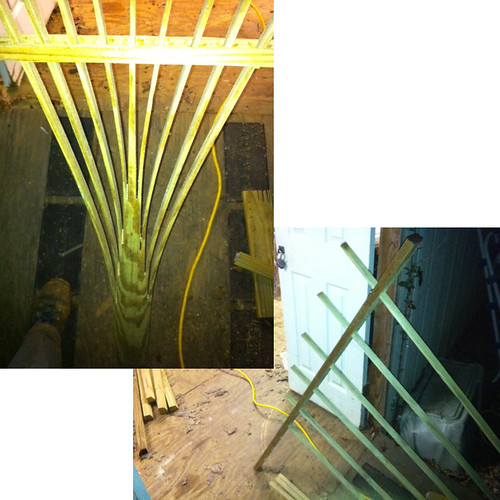
My oldest brother, Todd, has the gardening itch this year (actually it might be garden pox judging by his scratching) and is converting his front yard to a small farm. I promise to get more pictures of his projects, but first wanted to show off his $3 (plus some bits of building materials he had lying around) trellis.

The basics? taking a 2 x 4 and using a table saw to cut it down into lattice strips, while leaving about 6 - 12 inches at the base uncut. Cut some scrap wood  to create 2 spreaders to fan the boards apart. Todd used screws with scrap pex pipe (cut to about 1-inch lengths) instead of spacers to attach the trellis with wall anchors into the brick facade of his house, but any sort of strong, rigid pipe-like material would work.


We're moving our hops to a sunnier location this year, and a couple of these trellises will help 'em reach for the sky.

Are you planning a garden this year?  Check out this great post that spells it out for the beginner gardener.